Asset Creation Part 6: Applying Textures
1) open your original .blend file
Go ahead and delete the original blockmesh
Import your low poly mesh by going to file > append
select the _low.blend version of the asset, then navigate to objects and select the object
2) Set up the asset library
In edit > preferences > file paths
hit '+' to add a new asset library path, and navigate to the texture library for this project
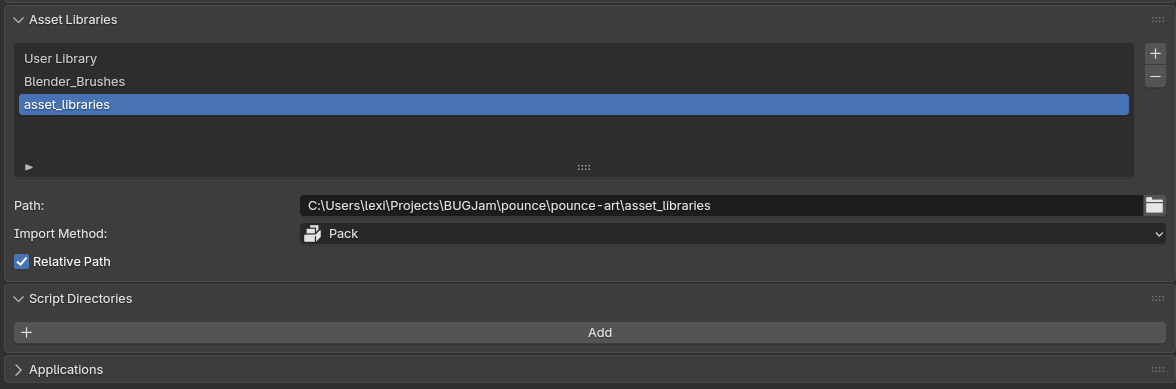
users...\BUGJam\pounce\pounce-art\asset_libraries
then save your preferences
3) Set up shading workspace
delete everything except for the material output in the existing texture that should have been created with the bakery
rename the texture to asset_mat
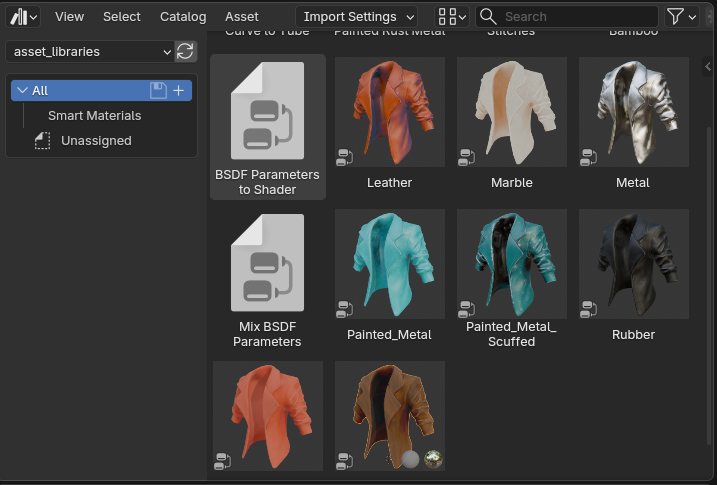
then in the upper left viewport, toggle to asset browser, and select the "asset libraries" library- you should see a bunch of cool textured jackets!
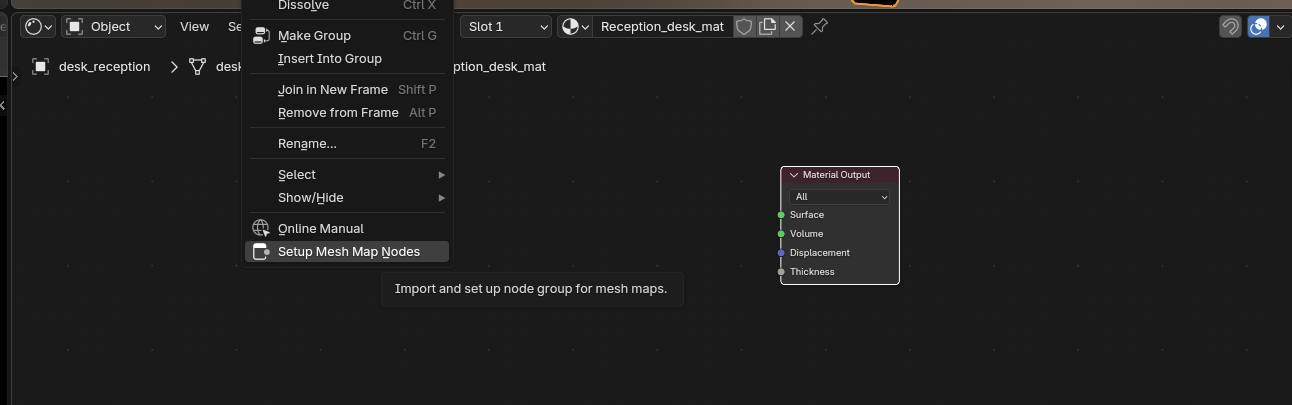
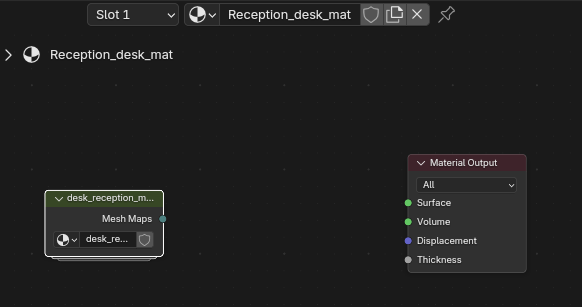
in your mostly empty material, right click and select 'setup mesh map nodes'
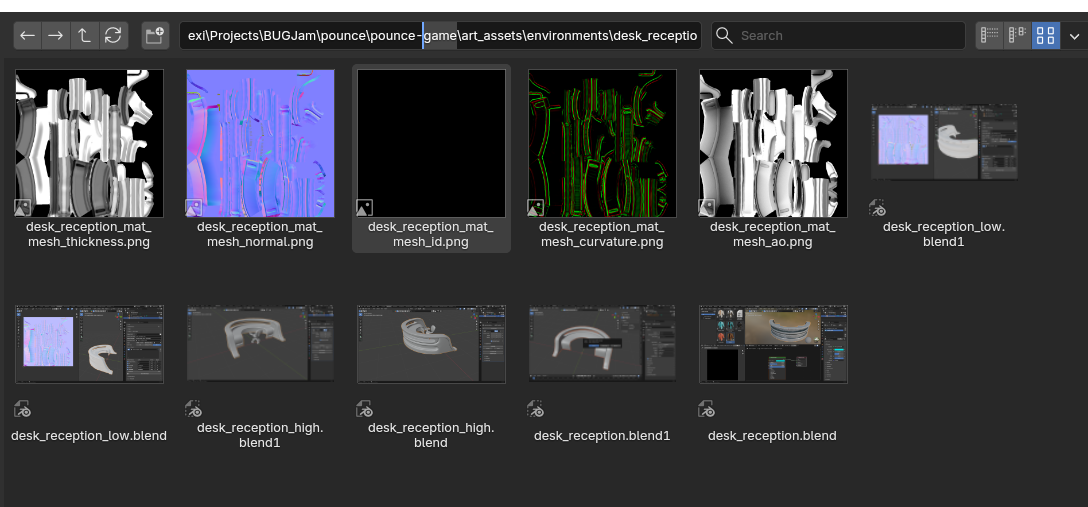
shift+click to select all 5 baked texture maps and import them (make sure to uncheck relative path)
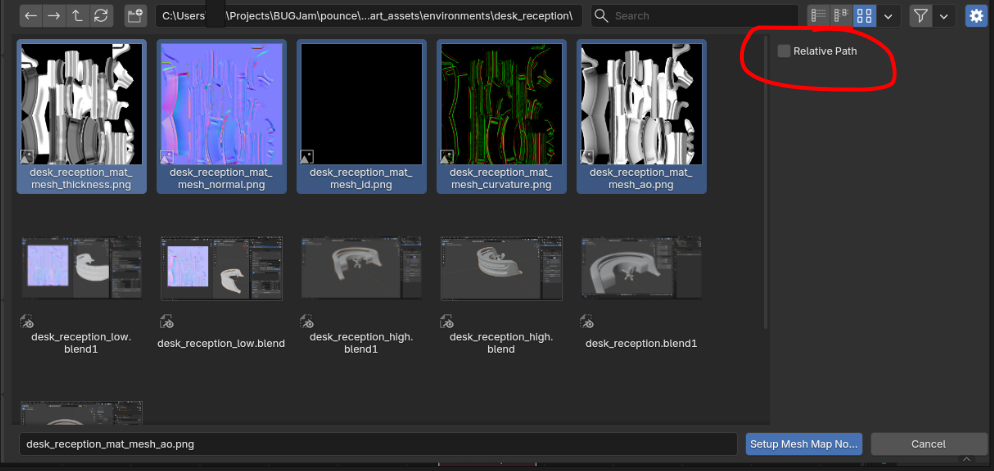
You should have two nodes now, the texture bundle, and the output
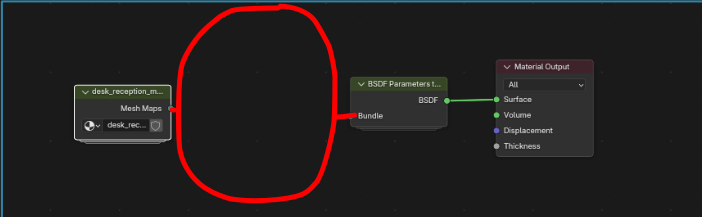
Now, back in your asset browser- drag and drop the BSDF parameter to shader node group into the shader graph and conenct it to the material output
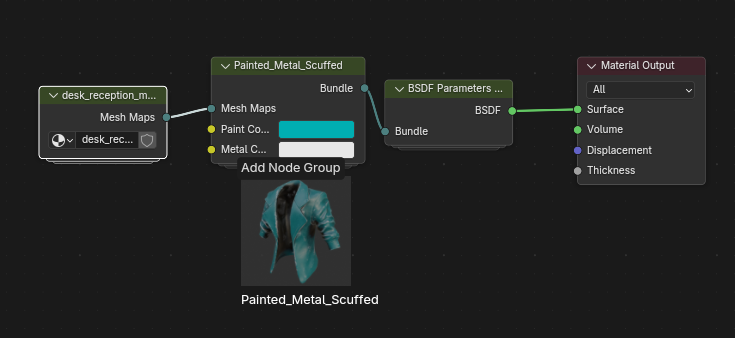
4) Set Up Material
with that added, the area in between is where you can drag + drop desired materials from the asset library! just connect the mesh maps to material node to BSDF parameters node- then you can edit the color of the material you'd like to use from the library
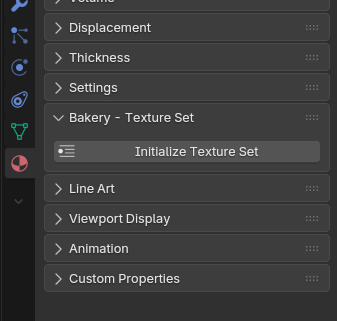
5) Bake Texture Set
in the material properties panel, there is another bakery option called "texture set" go ahead and click initialize when you are happy with the texture + color of your object
make sure to set up the file path like the original exporter, with it set to pounce 'game' instead of pounce 'art' and name it asset_mat
DO NOT edit the name template
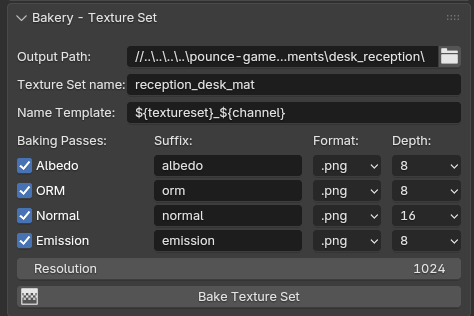
and hit bake!
No comments to display
No comments to display