Buttons (Floor Button, Wall Button, Control Panel Button)
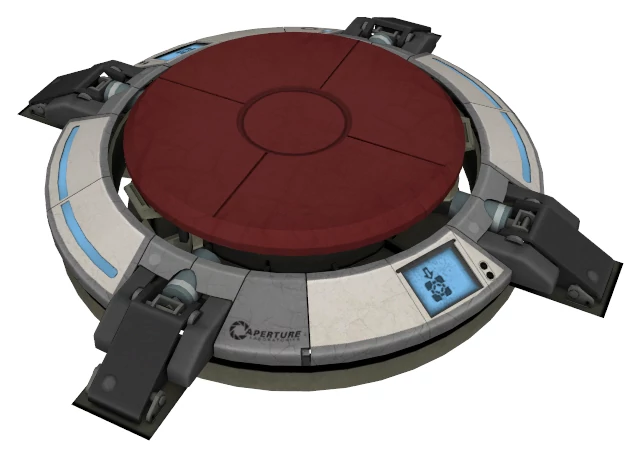
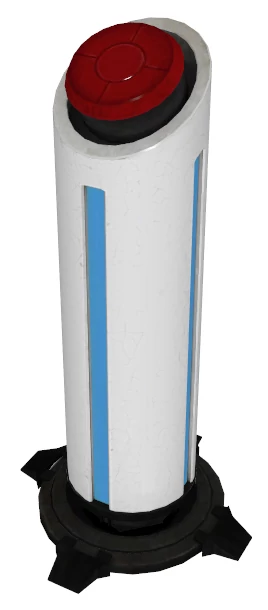
Who said we had to be original? Buttons open doors and activate elevators. Each button is paired up with a door (or elevator) by the level designer. Any type of button can be paired up with any type of door (or elevator). The difference is what it takes to activate each button. The Floor Button can only be activated by Chucky standing on it. The Wall Button can only be activated by Chucky hitting it with a coconut. And the Control Panel Button can only be pressed by Dexter.
Dimensions
- Width: 2 tiles, Height: 1 tile (Floor Button)
- Width: 1 tile, Height: 1 tile (Wall Button)
- Width: 1 tile, Height: 1 tile (Control Panel Button)
Mechanics
- Floor Button - only activated by Chucky standing on it (deactivates when he steps off).
- Wall Button - only activated by Chucky hitting it with a coconut. (toggles on/off when pressed)
- Control Panel Button - only pressable by Dexter. (toggles on/off when pressed)
- In Unity editor the script should let you specify the game object that the button activates (a specific door or elevator). This should be exposed in the inspector so that it can be easily set by the level designer for each button.
Sprites
- Heavy Floor Button (base layer + moveable button layer that lights up)
- Wall Button (base layer + moveable button layer that lights up)
- Control Panel (default + button pushed state (button is depressed and lights up)
No comments to display
No comments to display